
Like many hunters, I spend a ton of money on hunting clothes, guns, calls, shells and other accessories, but being a waterfowl hunter I spend more on decoys than anything else. I always like to have the newest, best looking decoys, but I feel like I’ve spent a small fortune on decoys in my lifetime.
For goose hunting in particular, decoys can cost upwards of $200 for 4 or 6 decoys! That makes putting together a full spread of brand new high end decoys extremely costly. Lately I have been making “Y” boards for Canadian and Snow goose decoys. Some people scoff at the use of these “older” style decoys, but you can’t argue with their effectiveness. Over the last couple months I have built around 40 sets (120 decoys, 3 per board) of snow goose “Y” boards for the upcoming season. This process does take some time, but the cost is much less than buying new decoys and it is very rewarding killing geese over decoys I made. Below is the process I use to make them.
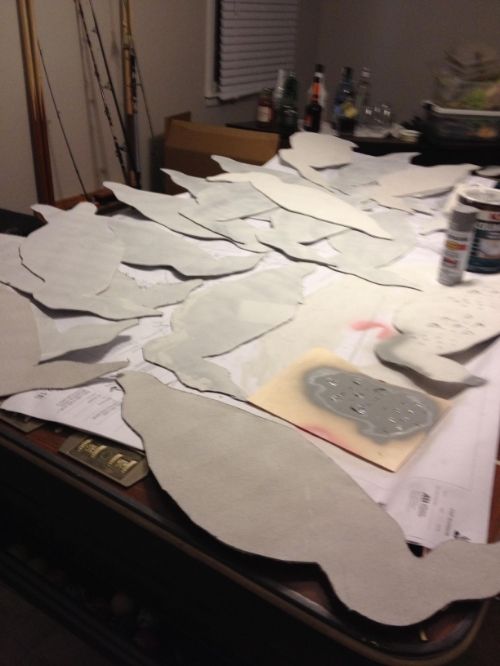
I start with 1/8” thick masonite board. This board is not as tough as plywood so you do have to take care of your decoys, but using this greatly decreases the weight of the boards. I use “Reel Geese” silhouettes as a template to trace onto the masonite board. If I pack them tightly onto the boards I can get 18 decoys from each 4’x 8’ board.
 [
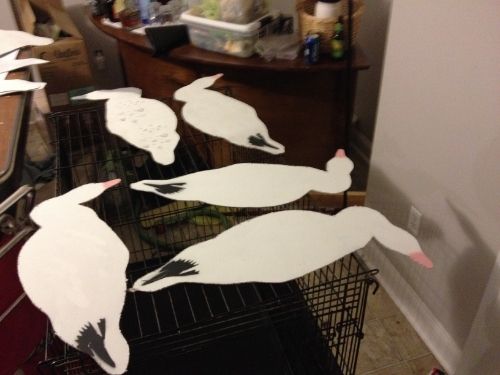
[I use a jig saw to cut out each decoy. I recommend doing this outside as the masonite board (and plywood too) makes a mess when you cut out the silhouettes. When you have all the decoys cut out I use Kilz white paint to seal and paint the decoys. For snow geese this makes it nice because you already have your base layer of white on the decoy. For canadiens it is still good to use a coating of the white Kilz paint as this helps seal the decoy and protect it from moisture in the field. It is a little more expensive, but I like to use Kilz spray paint because it goes much faster and requires less coats then rolling or brushing on the paint. For the feather detail I cut stencils out of manilla envelopes and use black spray paint for the tail sections, pink for the beaks and legs. I also make some juvy snow goose silhouettes using gray along the neck, bill and legs of the decoys and use a separate stencil to make the gray juvy feather detail.
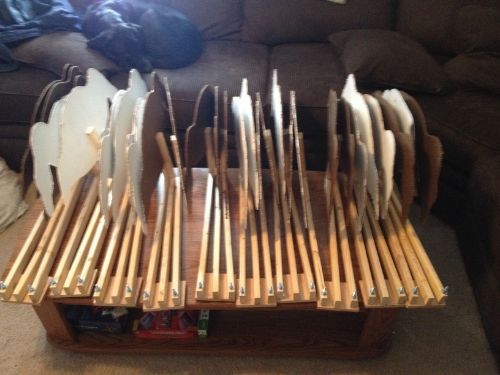
To make the bases, I use 1”x2” furring strips. I cut each one into 22” arms. With an 8’ furring strip you get 3 arms, enough for one base, and the extra I cut into 3-10” legs that attach the silhouette to the base. On one side of the base I screw a 4”x4” piece of plywood to the underside of the middle “arm.” The two outside “arms” get attached with ¼” Hex bolts and tightened with nylon nuts to the point where they can swing but with some resistance. I use 1/2” wood screws to attach the silhouette to the decoy leg. Than 1-1/2” screws to attach the legs to the “arms.” When finished the “Y” boards will be folded together to storing them and transporting them easier. In the field you simply swing out the outside arms to make a “Y” shape. I like all the decoys facing the same way when deployed. This lets all the decoys face into the wind when set up properly which is how geese normally feed in a field. To accomplish this you need to make the center silhouette face out and the two outside silhouettes face in towards the 4”x4” plywood square. This will allow the silhouettes to all face the same way when deployed. The picture below shows the bases folded together with silos still in the process of being painted. I will add some more pictures of "deployed" finished "Y" boards tonight.
Full skies & tight lines…
No comments:
Post a Comment